
Custom tin development
Custom Tin Packaging Development, Engineered Around Your Product
Junmei develops custom tinplate packaging around the real product, usable internal space, closure, packout, artwork, target market and delivery plan. Each decision is reviewed before tooling, sampling and bulk production are released.
You do not need a finished specification to begin. Send the product or inner pack, target quantity, destination and any drawing, artwork or reference image; Junmei will identify what can use an existing format and what still needs engineering confirmation.
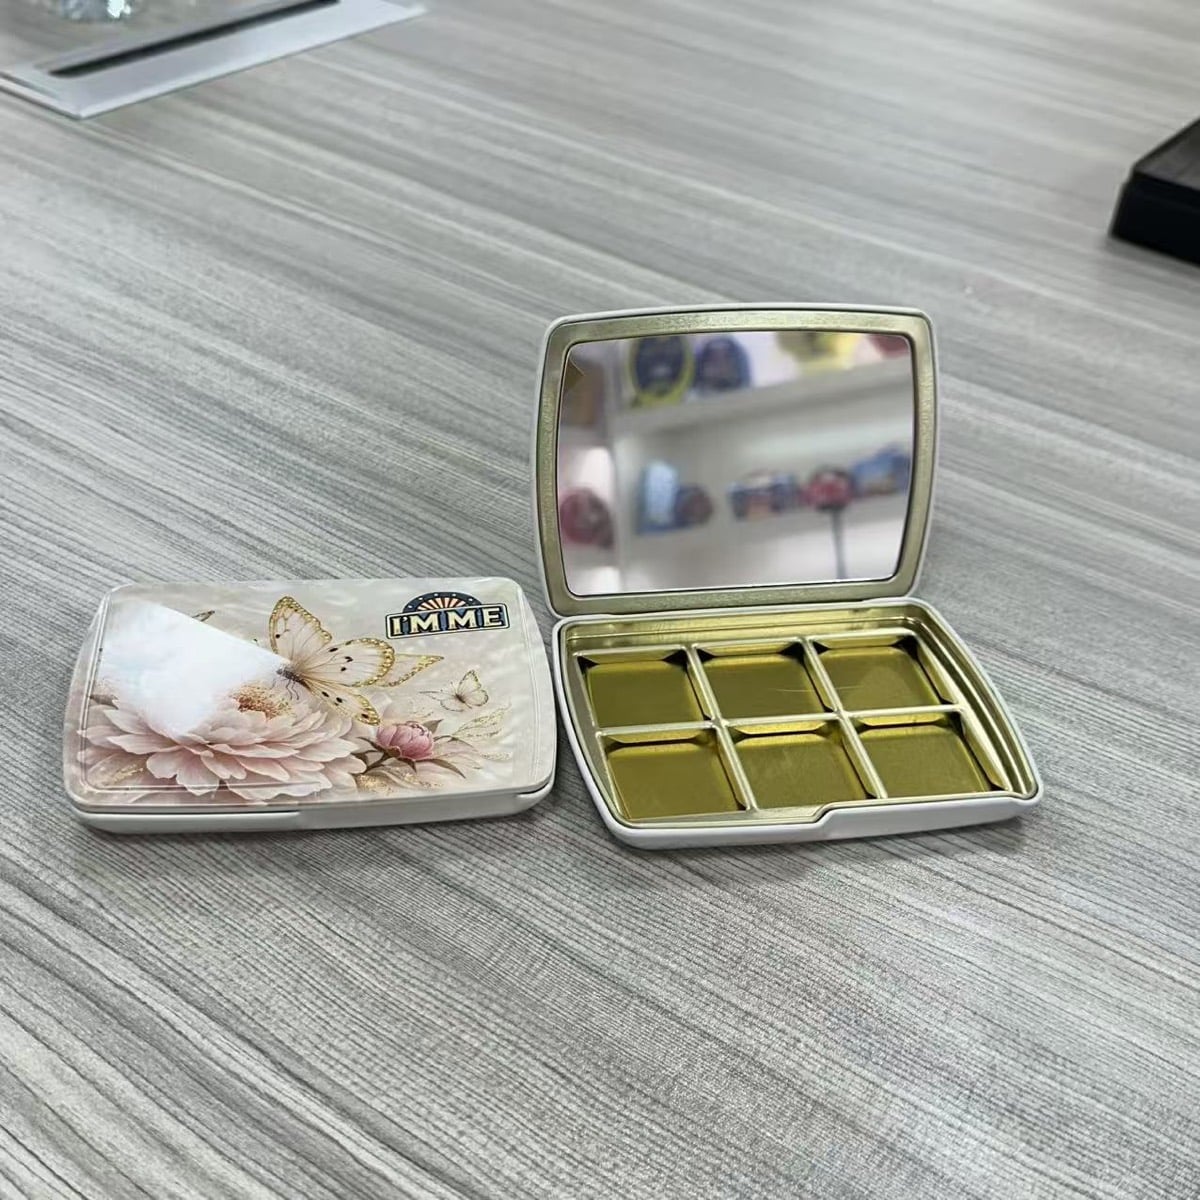

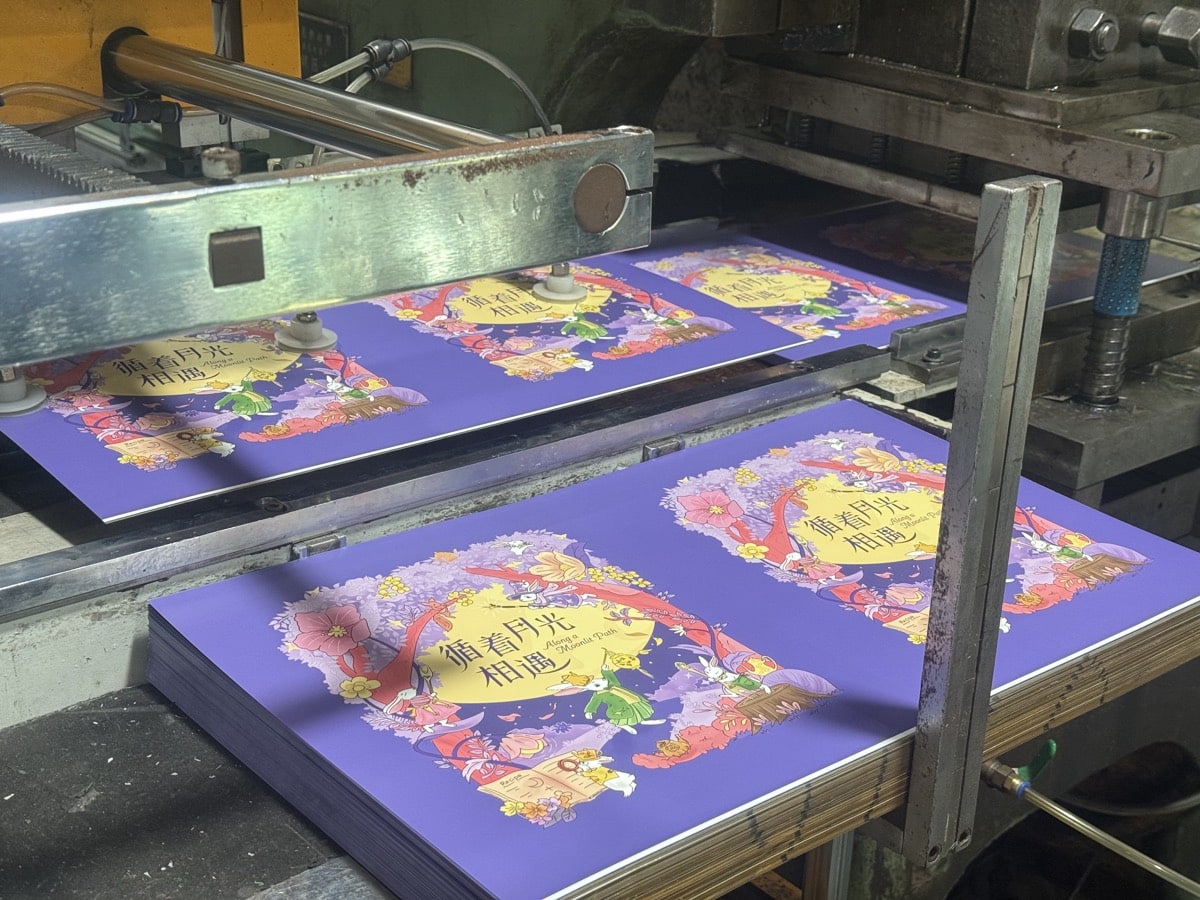
Start with a workable brief
Build a quote-ready custom tin brief in six decisions.
A useful brief separates non-negotiable product and market requirements from visual preferences. It lets the factory compare current formats, flag tooling or testing questions and prepare a quotation without guessing the packout.
Prepare artwork and project inputsProduct, contact and intended use
Describe the contents, product dimensions or fill volume, opening frequency and whether the product will contact the tin directly, use an inner bag or require another liner or insert arrangement.
Fill, size and usable space
Share the real product, inner-pack dimensions, piece layout, fill volume or bulk-density information. External tin dimensions do not equal usable internal space because seams, curls, lid engagement, forming and inserts reduce the packable area.
Structure, closure and packout
State the preferred shape and opening experience, such as slip, plug, hinged, double-lid or other project-specific closure directions. Add any window, handle, tray, divider, liner, custom card, scoop or fitted insert requirement.
Quantity, versions and MOQ
Give the total quantity and quantity by size or artwork version. MOQ starts from 3,000 pieces; the final MOQ depends on dimensions, structure, printing, artwork versions, inserts, packing and tooling.
Artwork, color and finish
Vector artwork is preferred for production review, but a sketch, photo or reference pack can start feasibility work. Identify CMYK or Pantone requirements, varnish direction, exposed-metal areas, embossing or debossing and the approval color reference.
Market, documents and delivery plan
Share the target market, document or testing requests, destination, launch or arrival date and any phased delivery plan. Packing, carton protection and shipping time must be planned separately from the factory production period.
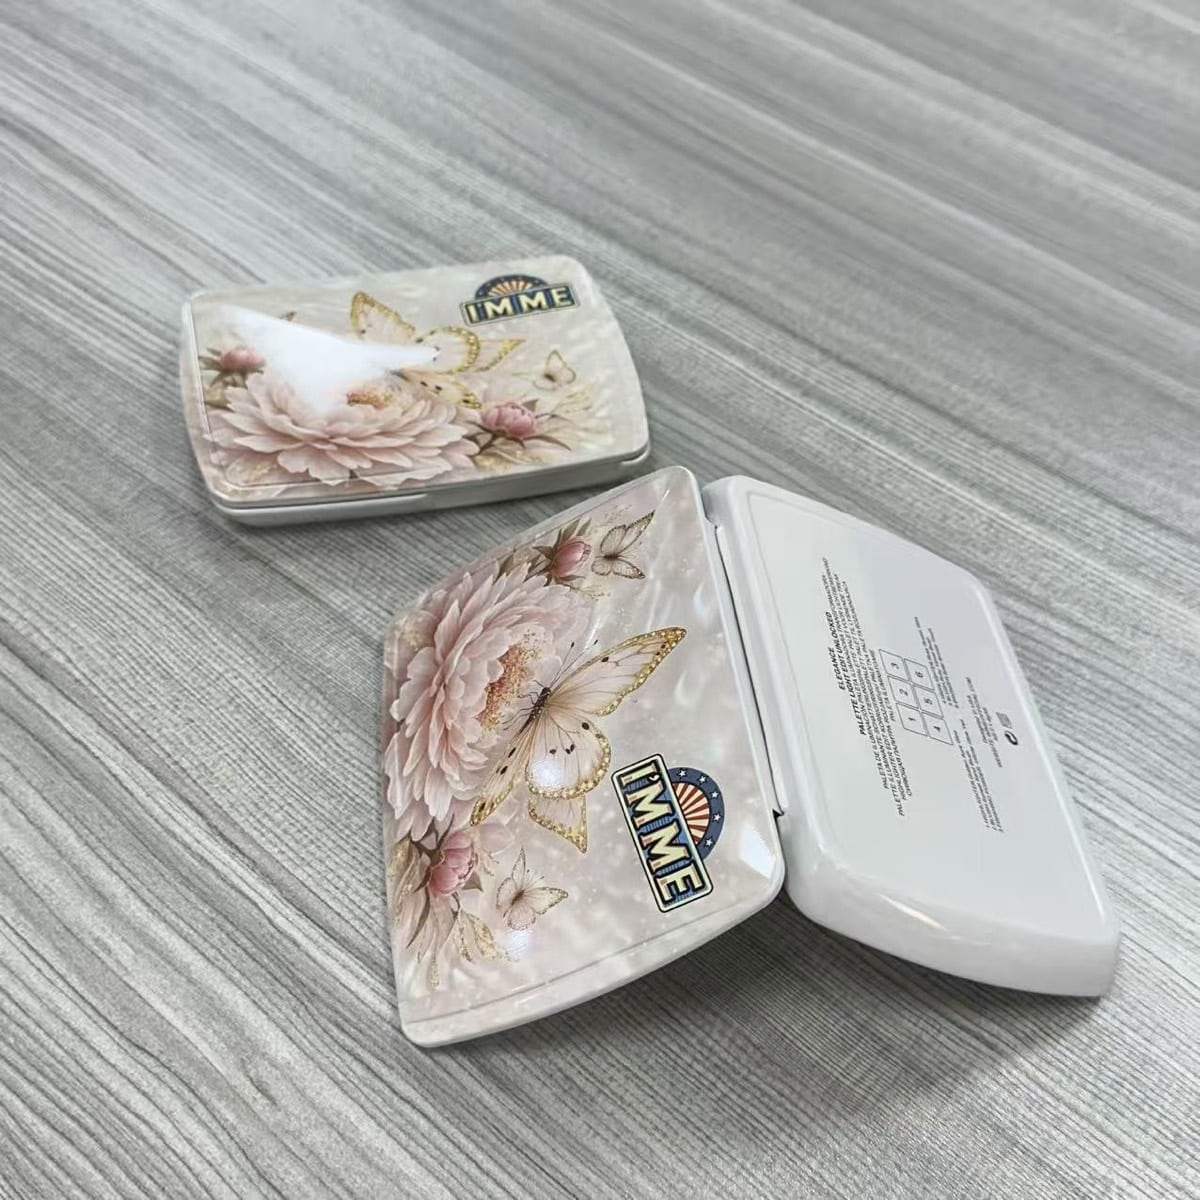
Control the variables
Resolve material, dimensions, closure and packout before artwork release.
A stable custom tin begins with the contents and handling route. Tinplate specification, formed dimensions, lid engagement, inserts, interior contact method and packing protection are coordinated before the final dieline and decoration are released.
Size & structure
Round, rectangular, square and special-shaped directions are assessed against the product, forming limits and packout. Tinplate grade, thickness and coating are confirmed for the selected format and intended use rather than assigned as one universal specification.
Lid & insert
Slip, plug, hinged, metal inner, double-lid, lever and other closure directions can be evaluated with windows, handles, scoops, trays, dividers, liners or precision-fitted inserts. Not every feature can be combined with every size or shape.
Print & finish
CMYK or Pantone spot colors, matte or gloss varnish, exposed-metal effects and embossing or debossing are checked against panel edges, curls, seams, forming radii and registration limits. Approved samples or color references support version and repeat-order comparison.
Interior & documents
Direct contact, inner bags, liners and other inner-pack routes are reviewed with the product and market. Interior coating, sealing target and supporting documents or project tests must be matched to the approved material, structure and intended use.
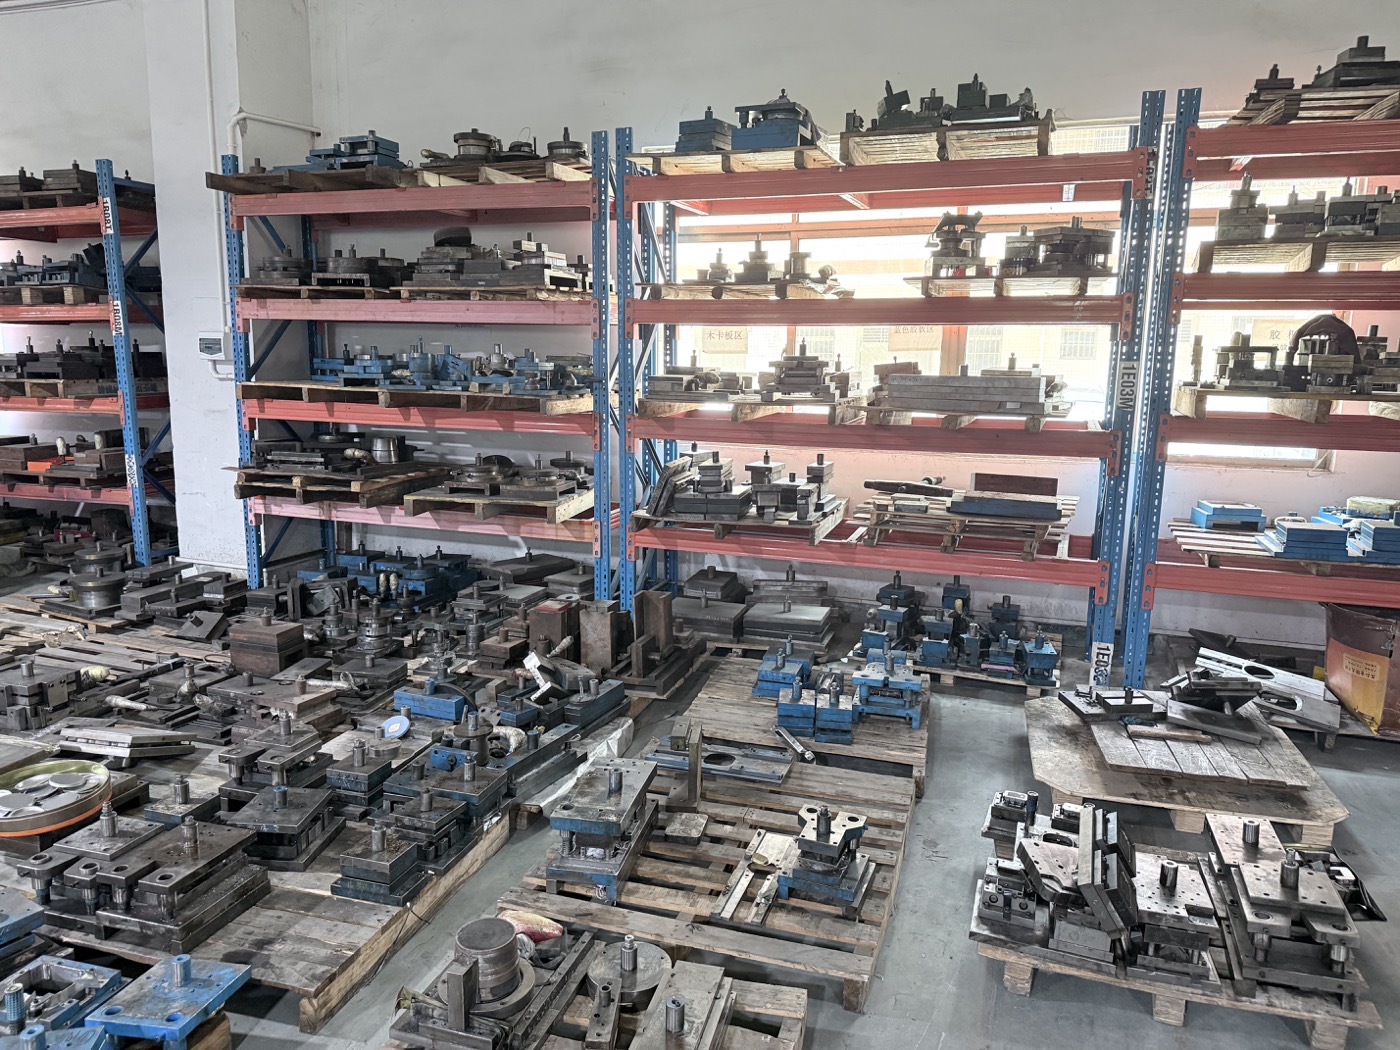
Existing mold or new tooling?
Choose an existing tin format when it fits. Develop tooling only when the project requires it.
Junmei first compares the required product fit, external dimensions, usable internal space, opening and packout with current formats. A close visual size is not enough if the lid, insert, fill or formed geometry does not meet the approved brief.
Compare product or inner-pack dimensions, fill volume, headspace, lid engagement, insert clearance, stacking and carton efficiency with available structures before adapting artwork.
Use a project-specific tooling route when the required footprint, height, silhouette, corner radius, draw depth, opening or closure cannot be achieved with a suitable current format. Feasibility, tooling scope, sample route, cost and schedule are confirmed before release.
Freeze the structure and critical dimensions before the production dieline is finalized. A visual concept may need adjusted radii, panel divisions, artwork safe areas or insert tolerances to become a stable manufactured package.
From reference to production file
Turn a buyer reference into an approved production standard.
These Junmei project materials show the handoff from buyer direction to production artwork and finished reference. Dimensions, panels, color notes, version names and structure approvals must refer to the same controlled project standard.
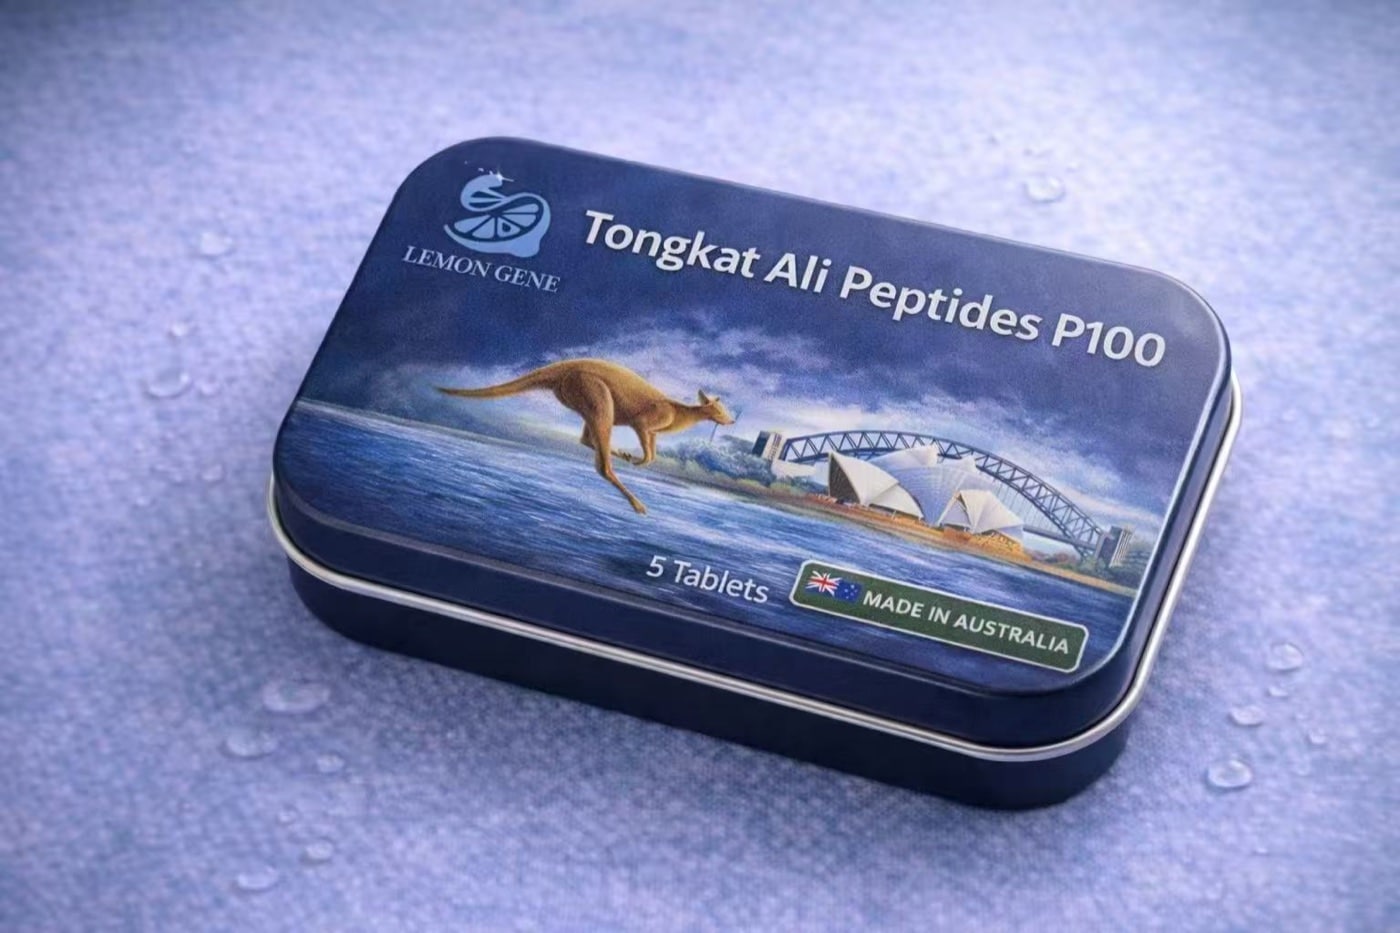
Buyer direction
The real product, brand objective, reference pack, target market and desired opening experience establish the starting direction. Open engineering questions remain visible instead of being hidden inside a visual mockup.
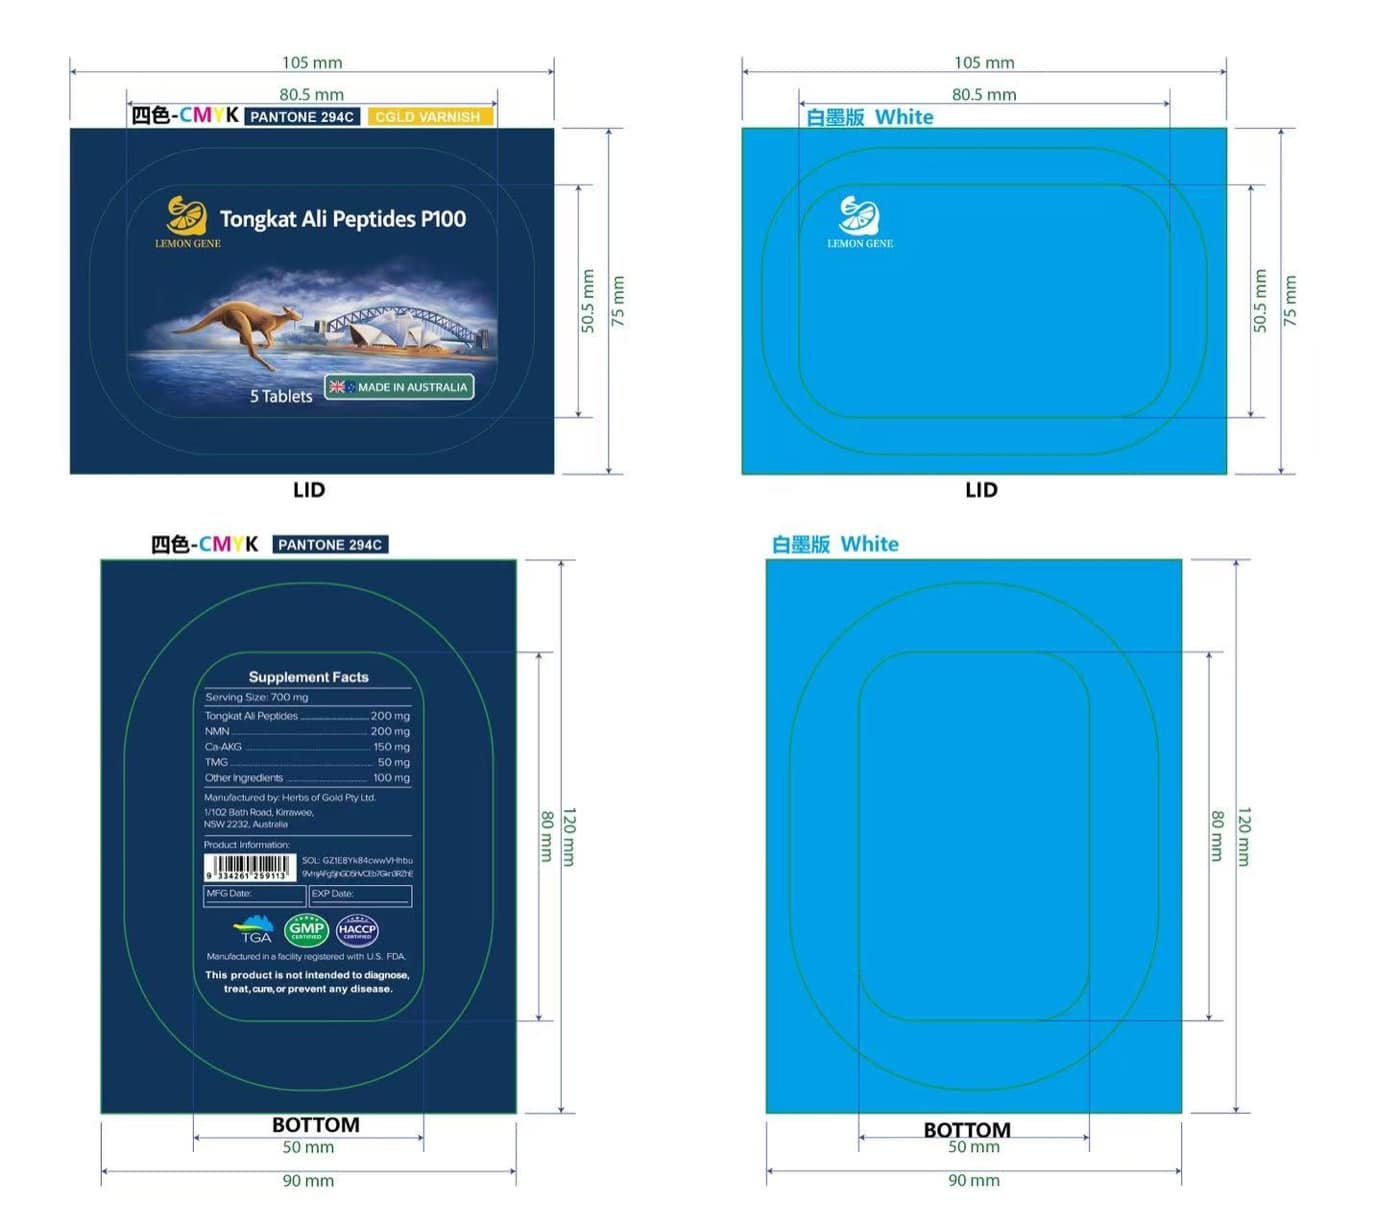
Production artwork
After the structure is selected, the dieline organizes printable panels, seams, curls, formed areas, orientation, color references, finishes and artwork-version codes for buyer and factory review.
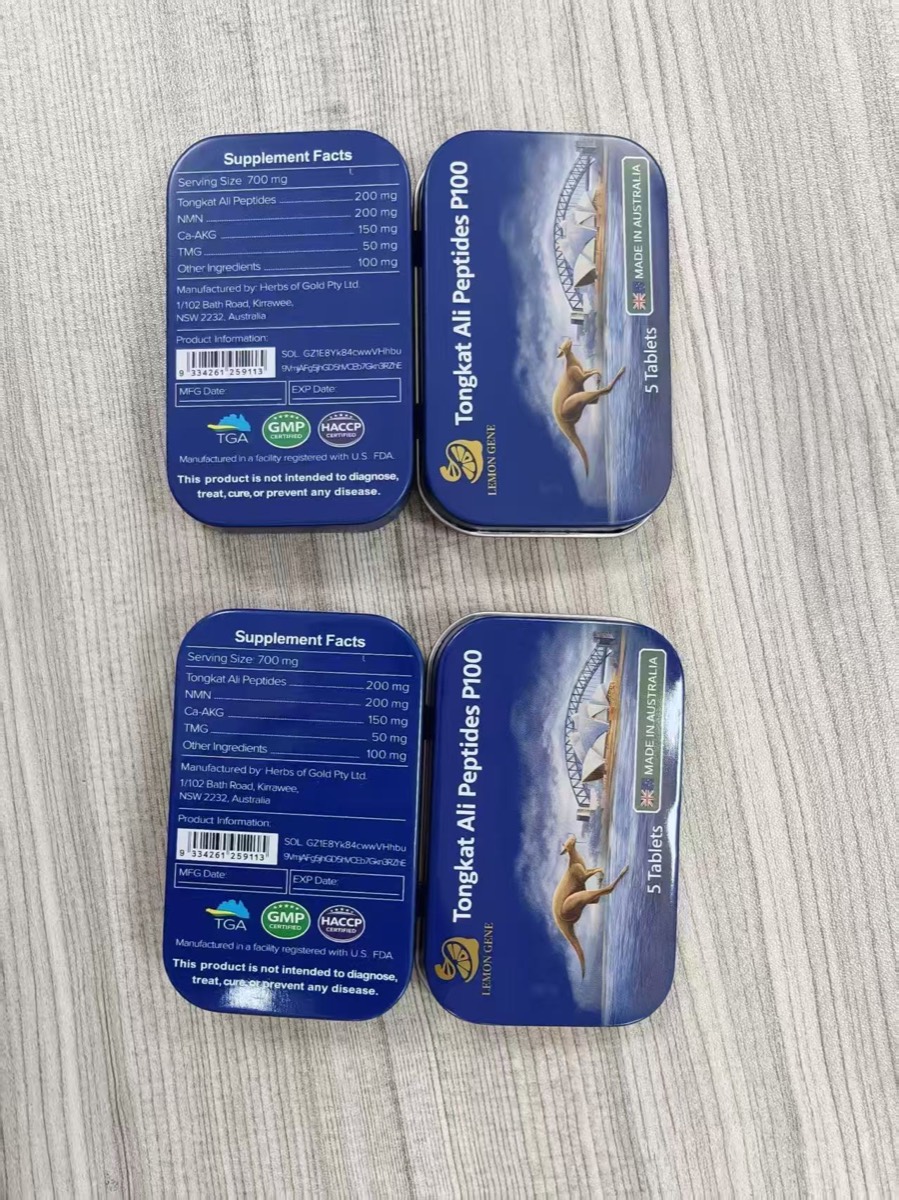
Finished reference
The physical reference is checked for dimensions, product fit, lid operation, print placement, color direction, surface finish and agreed packing details before bulk release.
Project visuals are shown as manufacturing-development references. Buyer identity, commercial details and confidential artwork information remain private; each new project is still evaluated against its own contents, tooling and approval requirements.
Printing & surface treatment
Specify print, varnish and embossing as production choices.
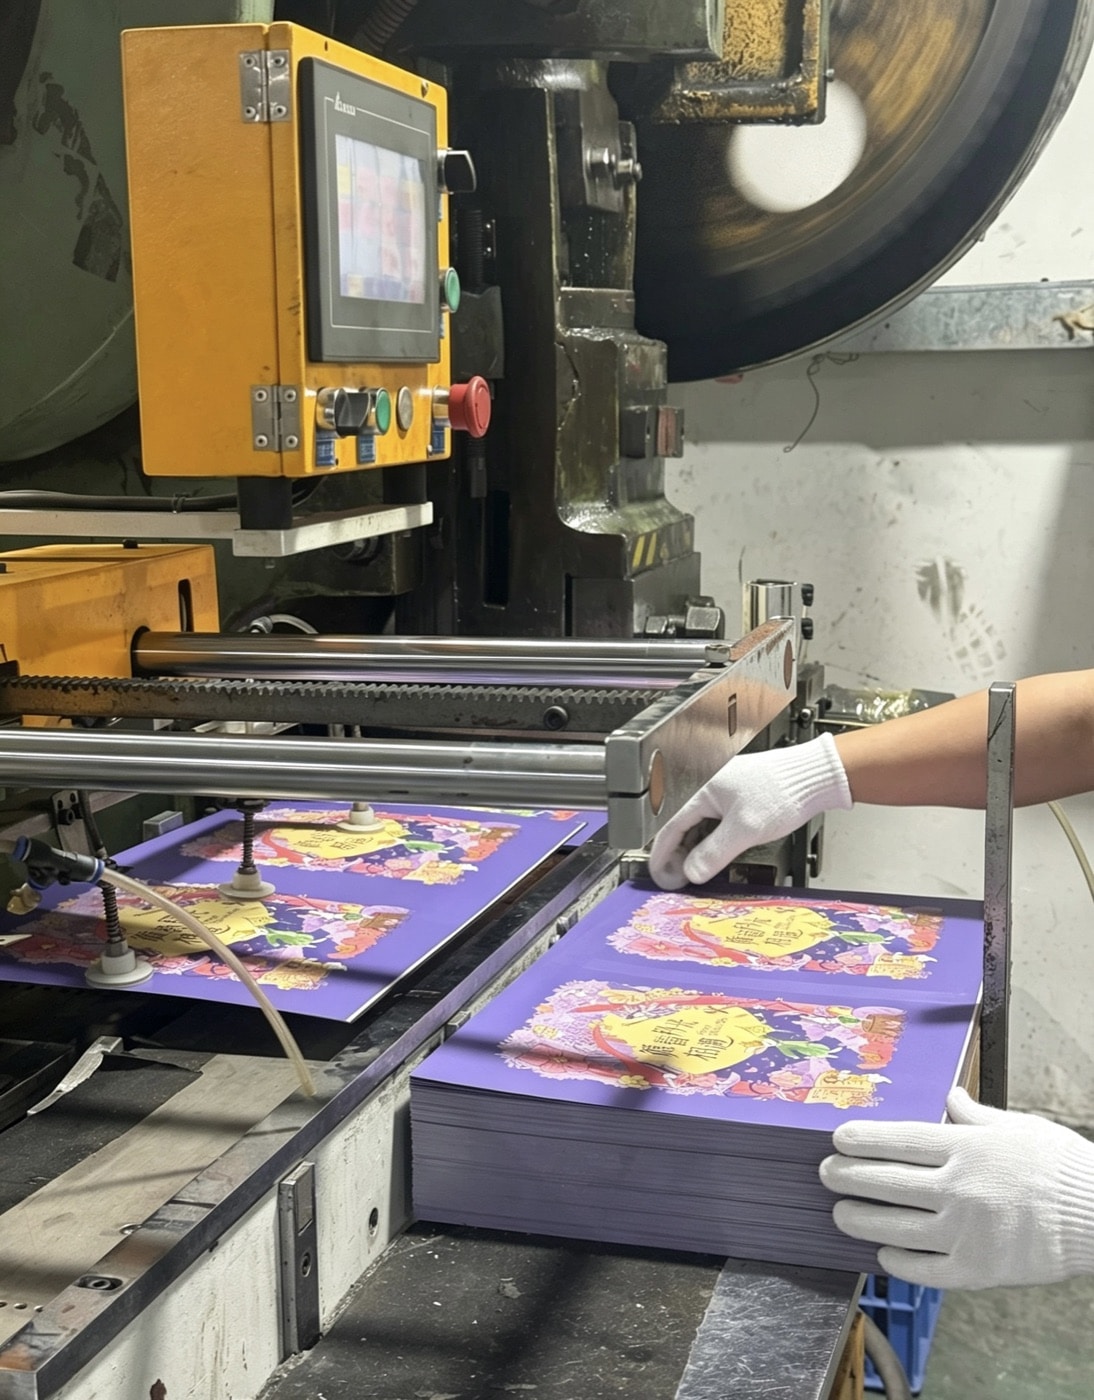
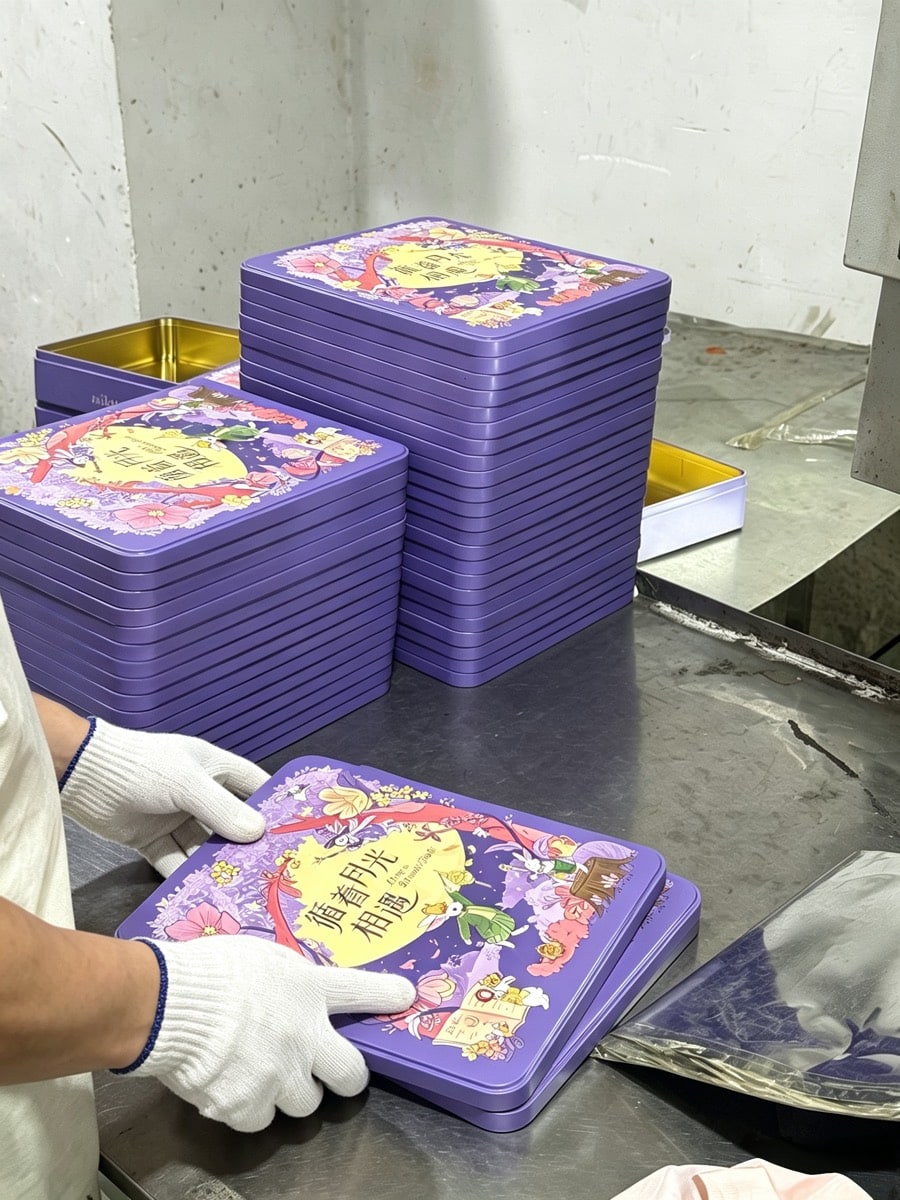
Printed tinplate is formed after decoration, so artwork crosses flat panels, curved areas, seams and curls before it becomes a finished tin. Color, exposed metal, varnish and raised details should therefore be reviewed against the real structure and forming route.
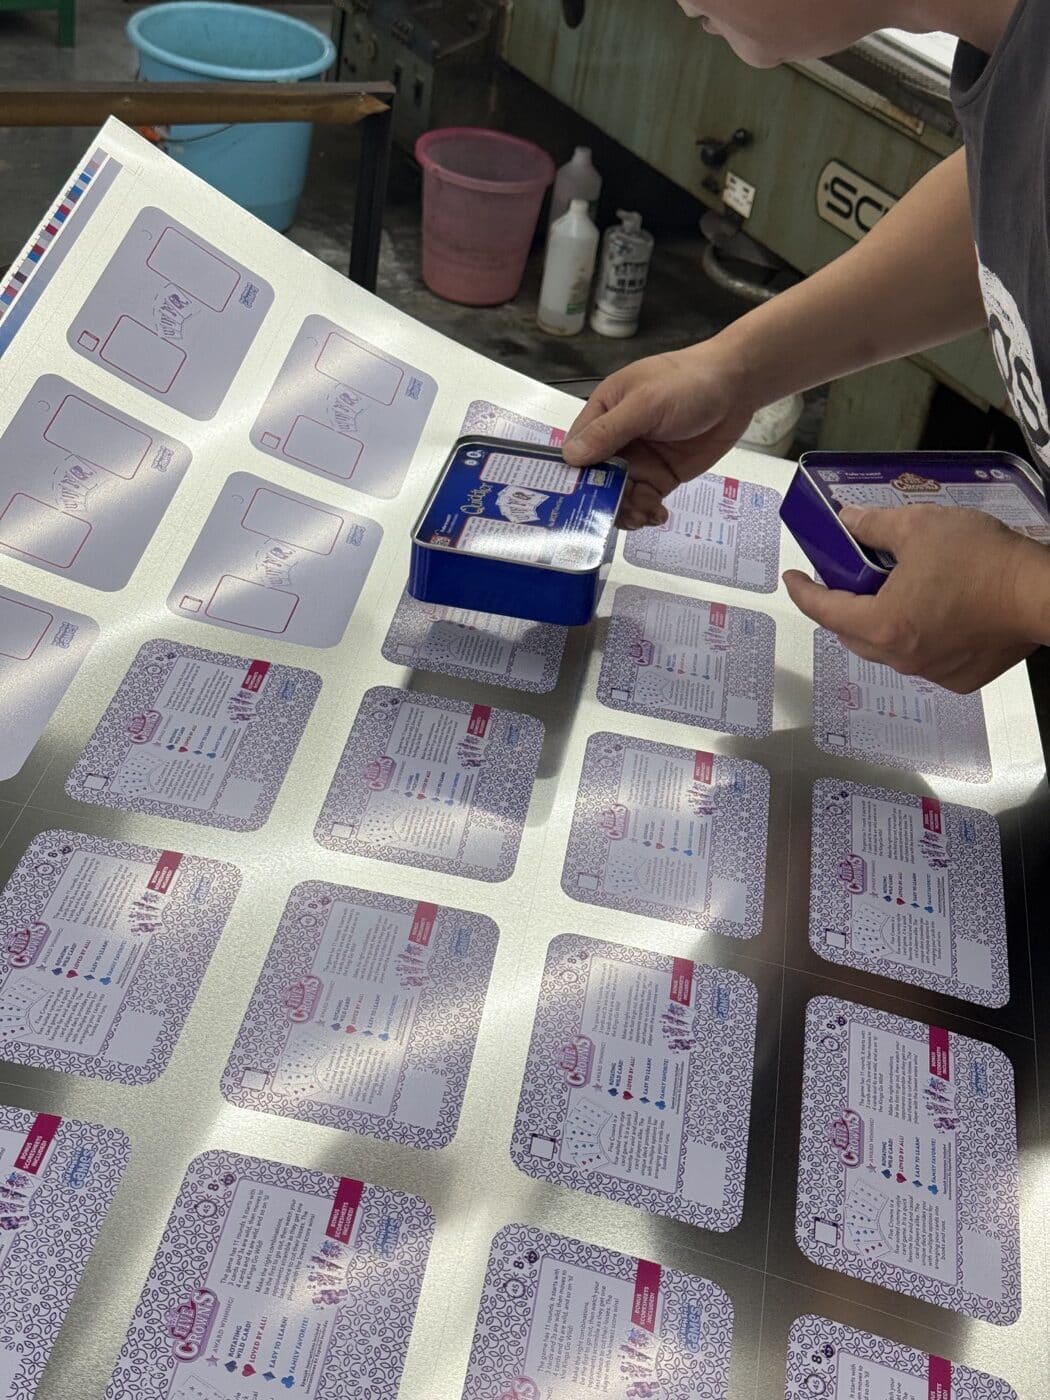
Sample review & handoff
Use the approved sample and files as the production handoff.
The sample route is selected after the structure, tooling and artwork scope are known. Samples are typically ready in 3–7 working days after specifications and artwork are confirmed. Bulk production typically takes about 25 days after the required sample or artwork approval and order confirmation; complex tooling, multiple versions, packing, current scheduling and shipping time can change the plan.
Confirm structure
Confirm external and usable internal dimensions, tinplate and coating direction, closure fit, product or inner-pack clearance, insert, contact method and handling requirements.
Review artwork
Check the correct dieline and version, print placement, color reference, varnish, exposed metal and embossing or debossing against the selected structure.
Approve sample
Compare the physical sample with the approved brief, including fit, opening, surface, finish and any agreed sealing, drop, vibration or other project verification plan.
Record handoff
Keep the approved sample or color reference, artwork-version matrix, tooling and specification notes, packing instructions and change record aligned for production control and repeat orders.
Prepare a quote-ready custom tin RFQ
Send Your Product, Packout and Artwork Requirements.
Send the product use, sample or fill information, target dimensions, structure, closure, insert, artwork versions, quantity, market, packing, destination and required date. MOQ starts from 3,000 pieces, with the final MOQ confirmed against size, structure, printing and tooling. Standard payment terms are a 30% deposit with the balance before shipment; final terms are stated in the PI or contract.